Conditional Design
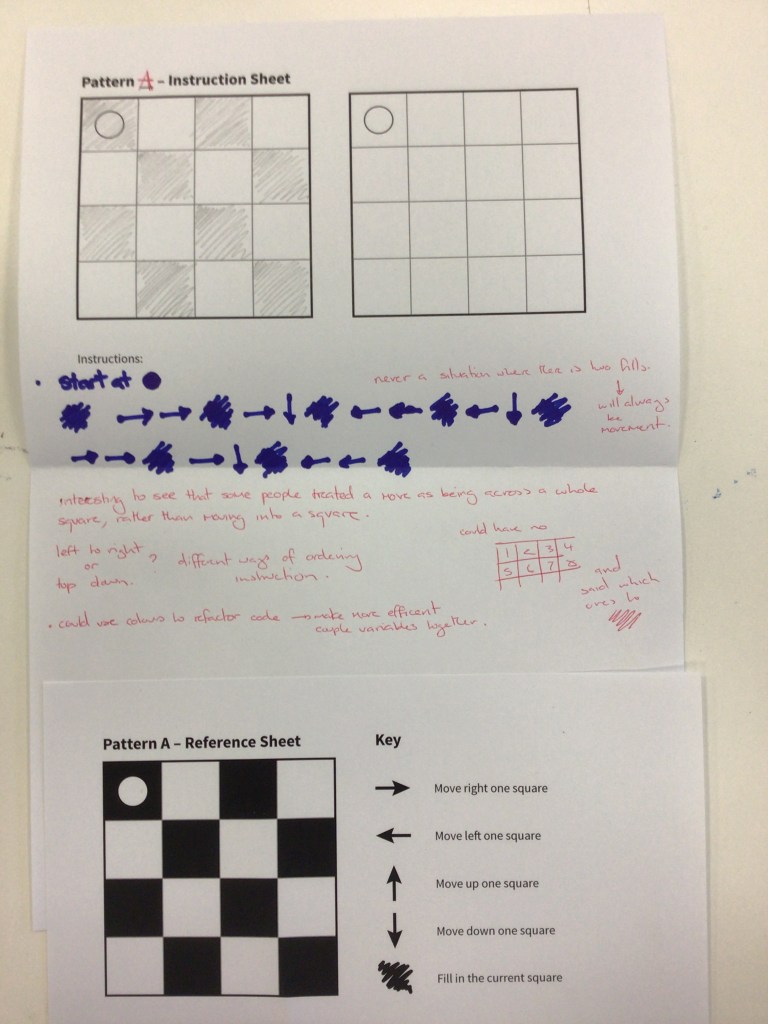
Notes in red regard how people view how to approach the problem differently, and as a result when two people with different ideas are paired, the result is unintended. I quite like the idea of adding a degree of randomness and chance from interpretation into the rule design. especially for creative work
ruleset 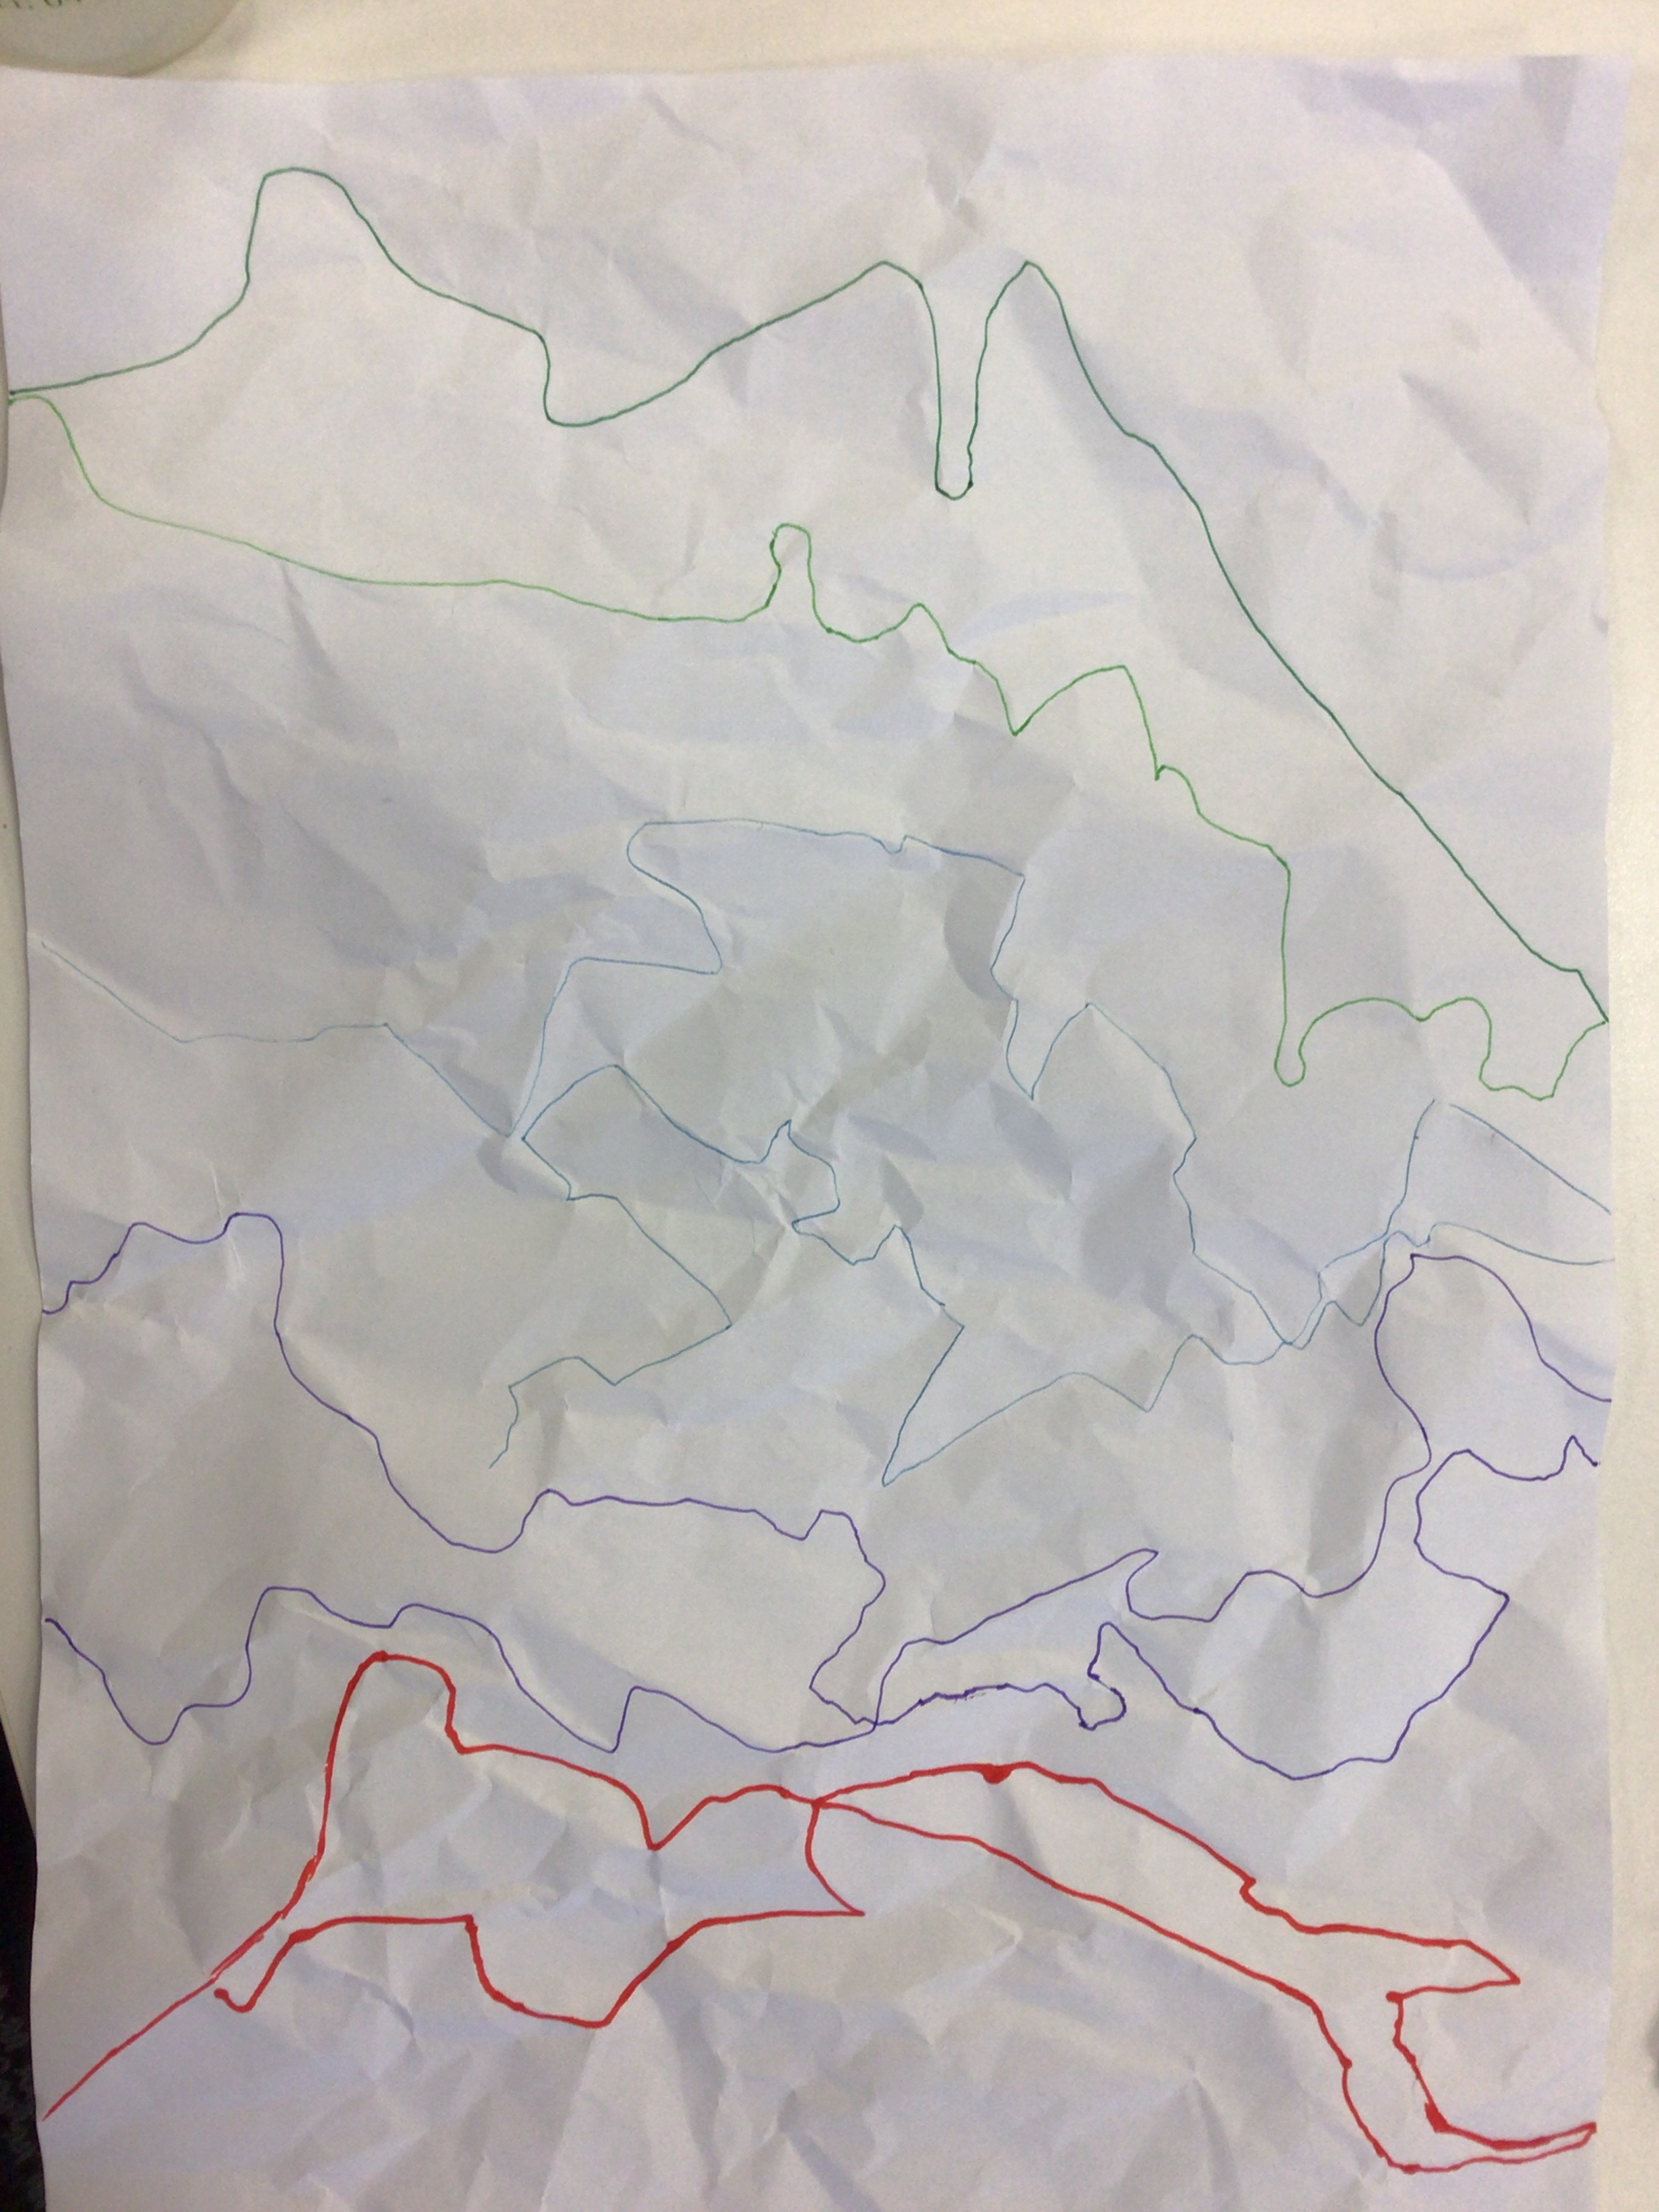
attempt 1 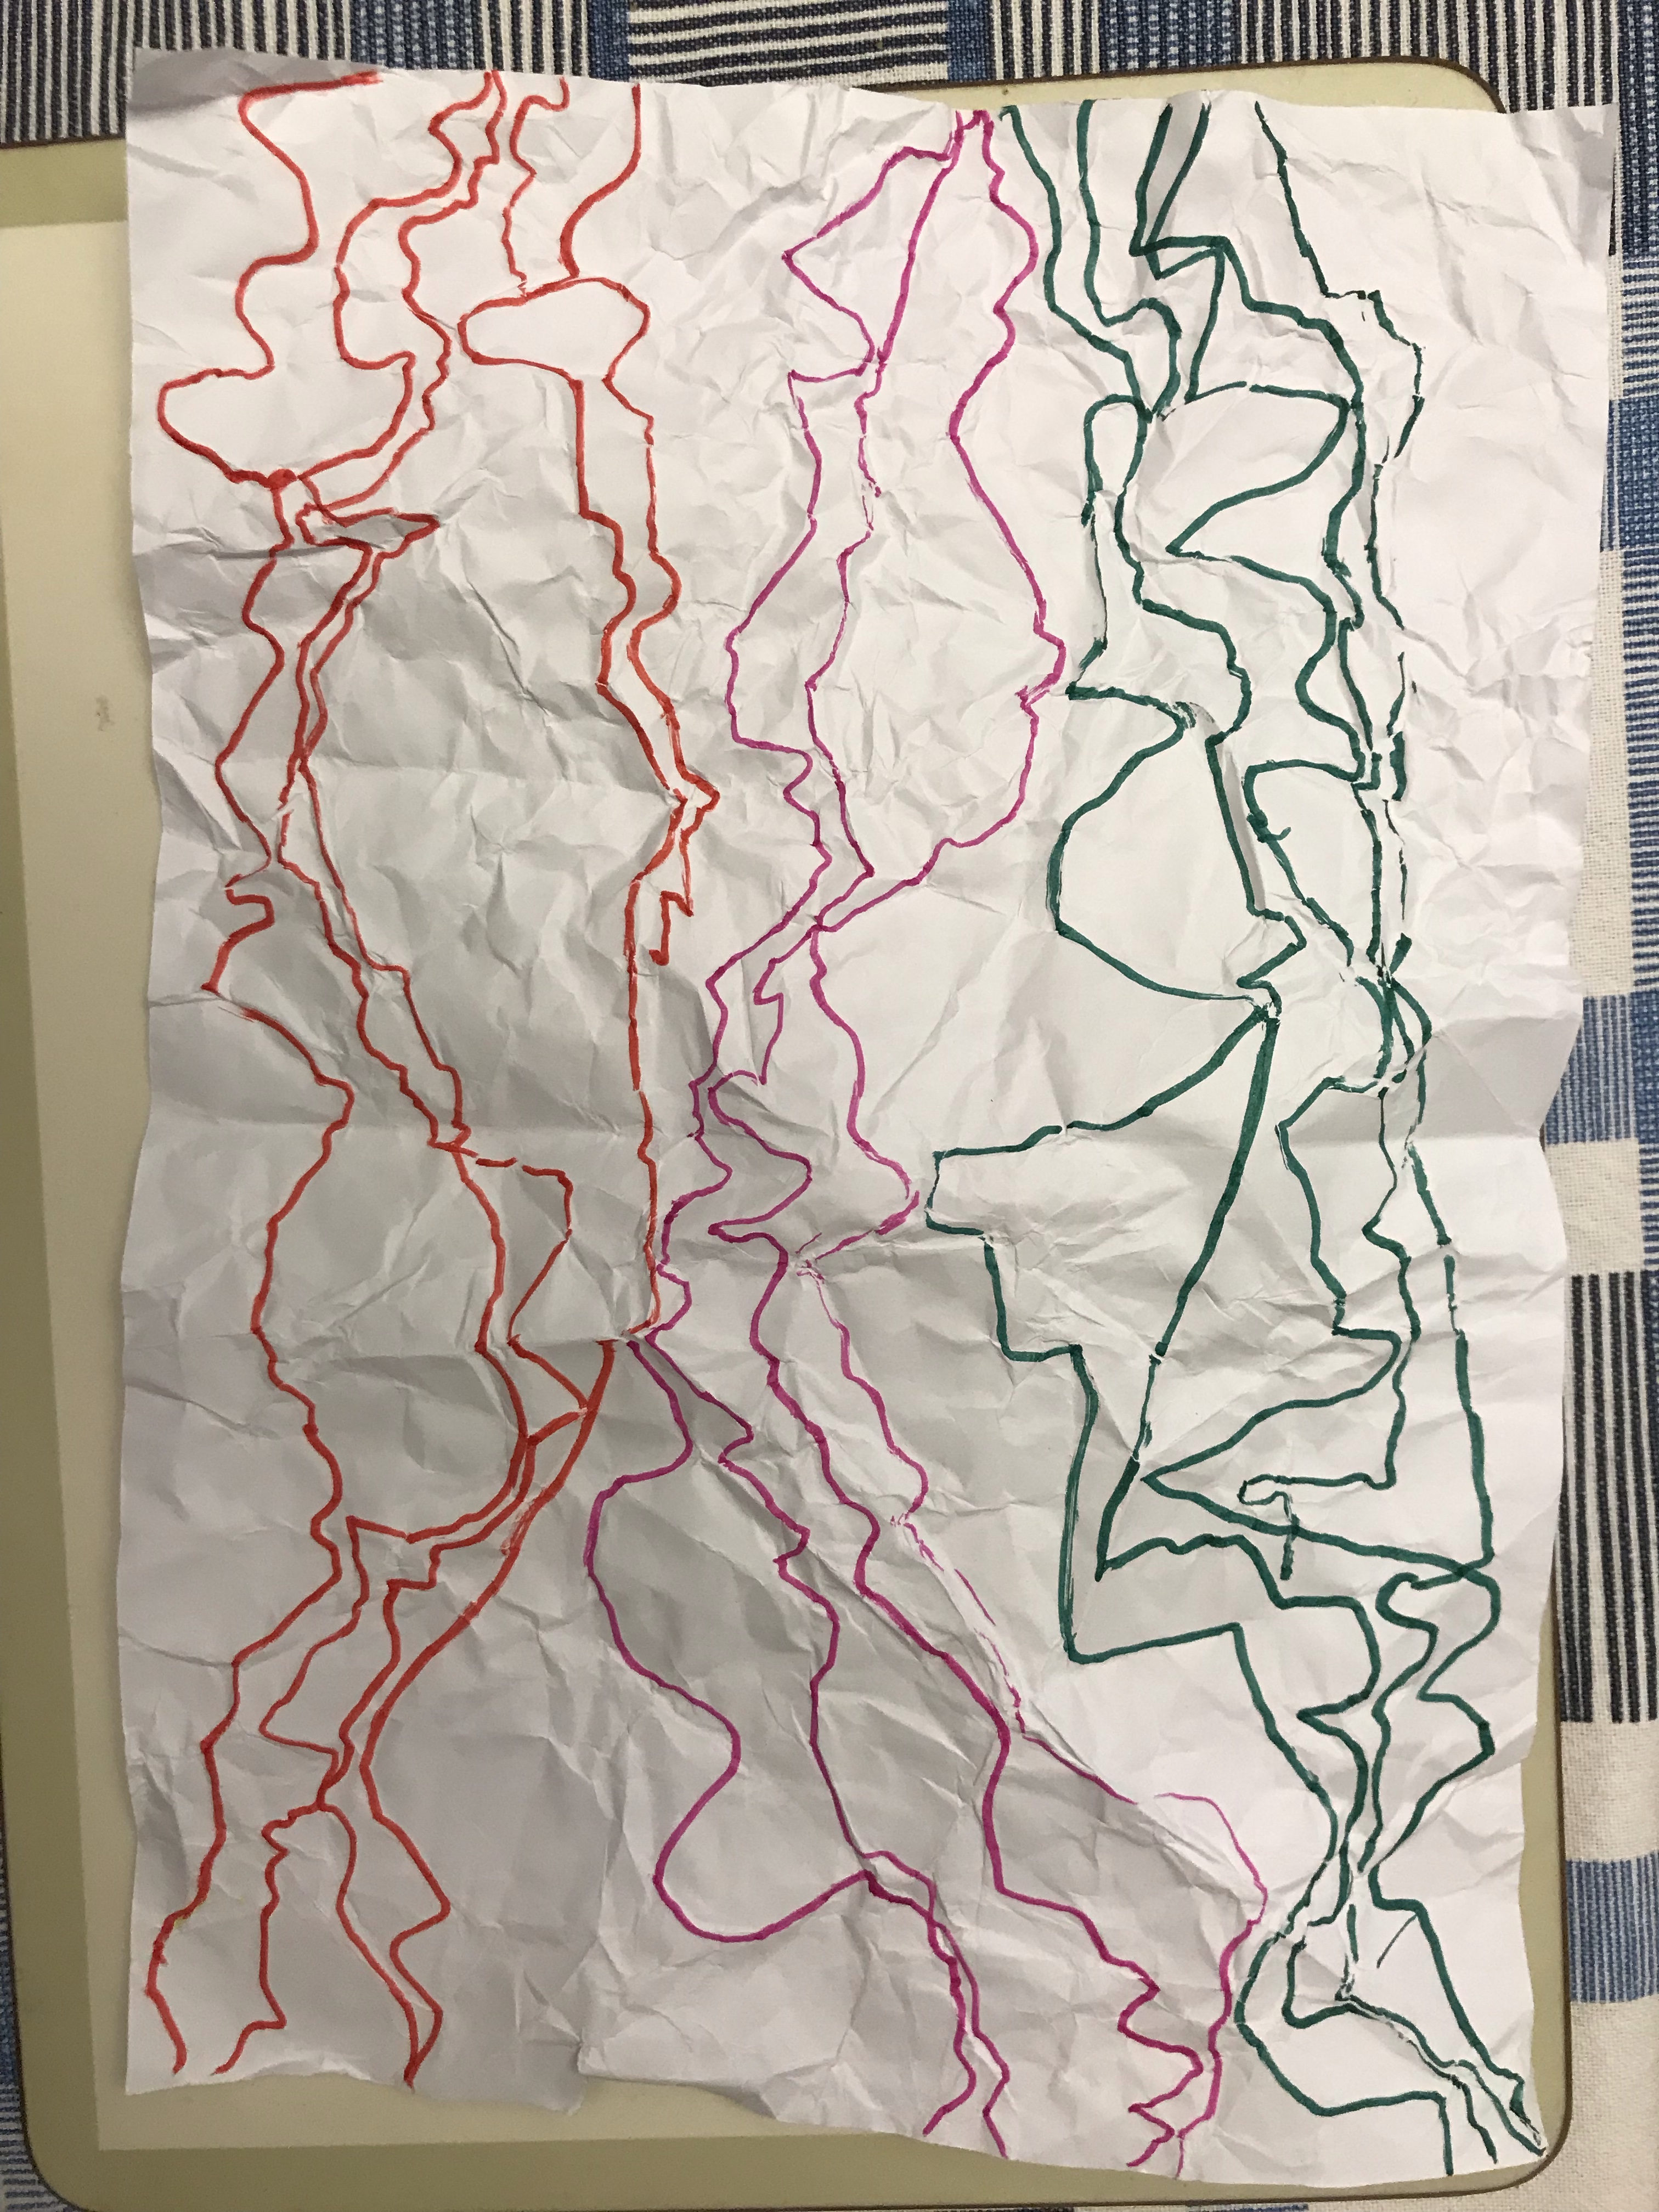
attempt 2 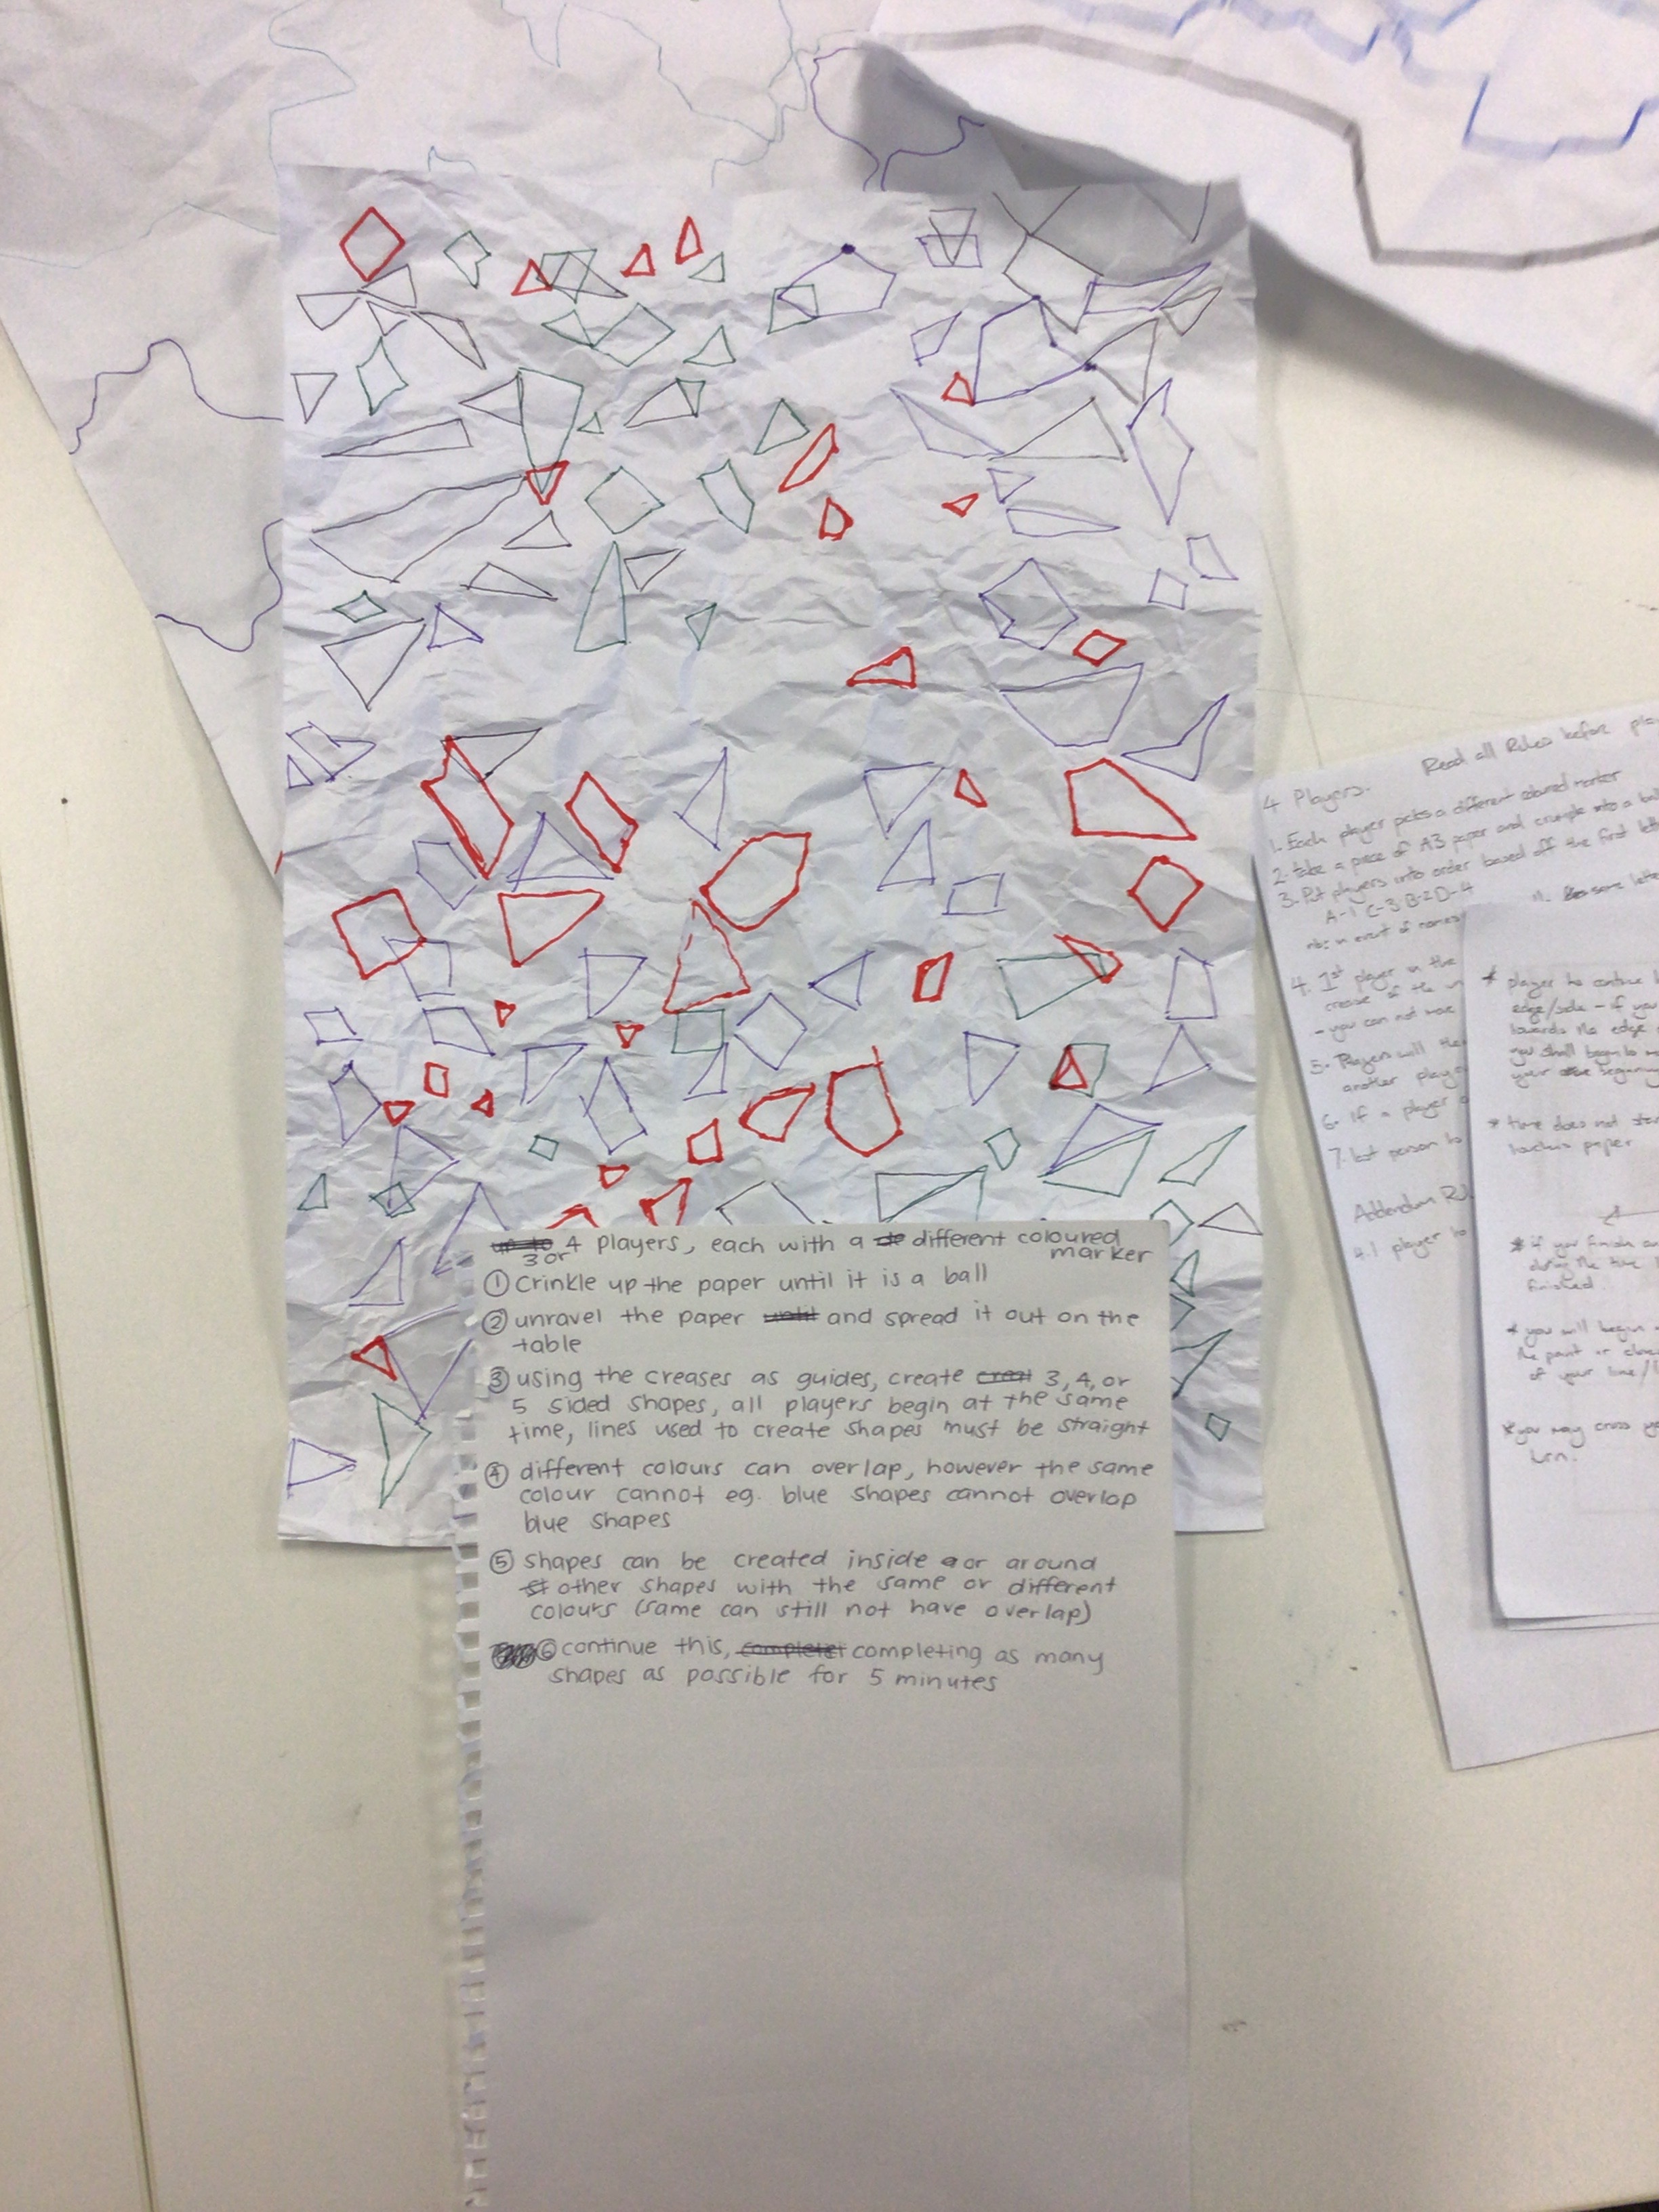
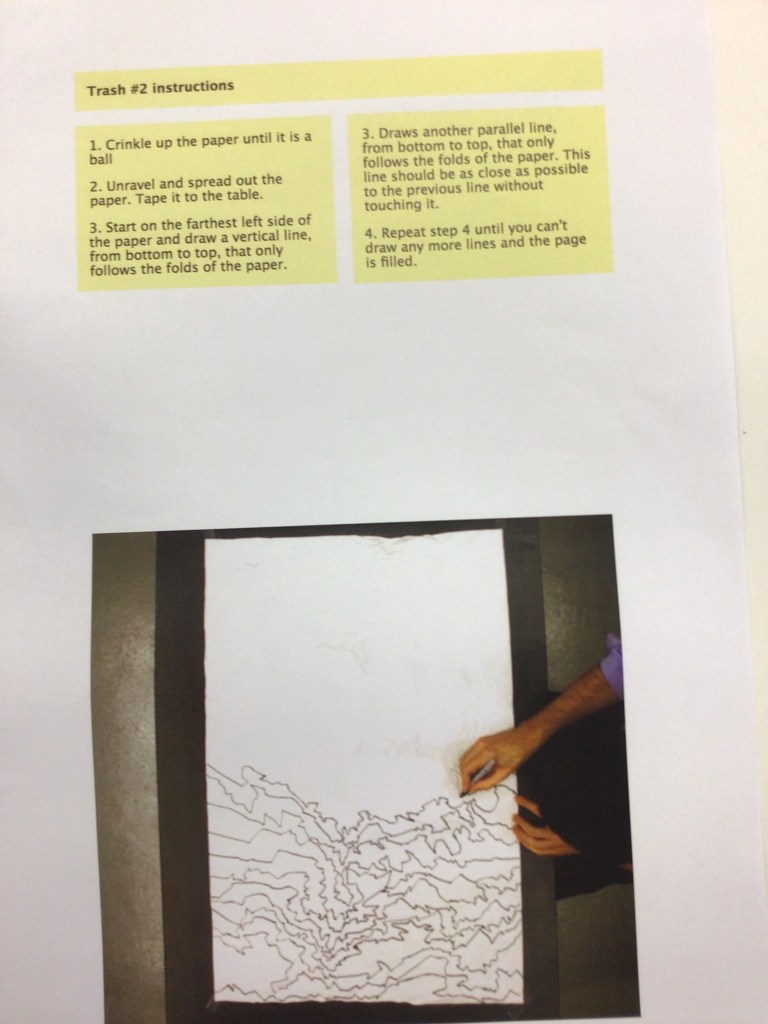
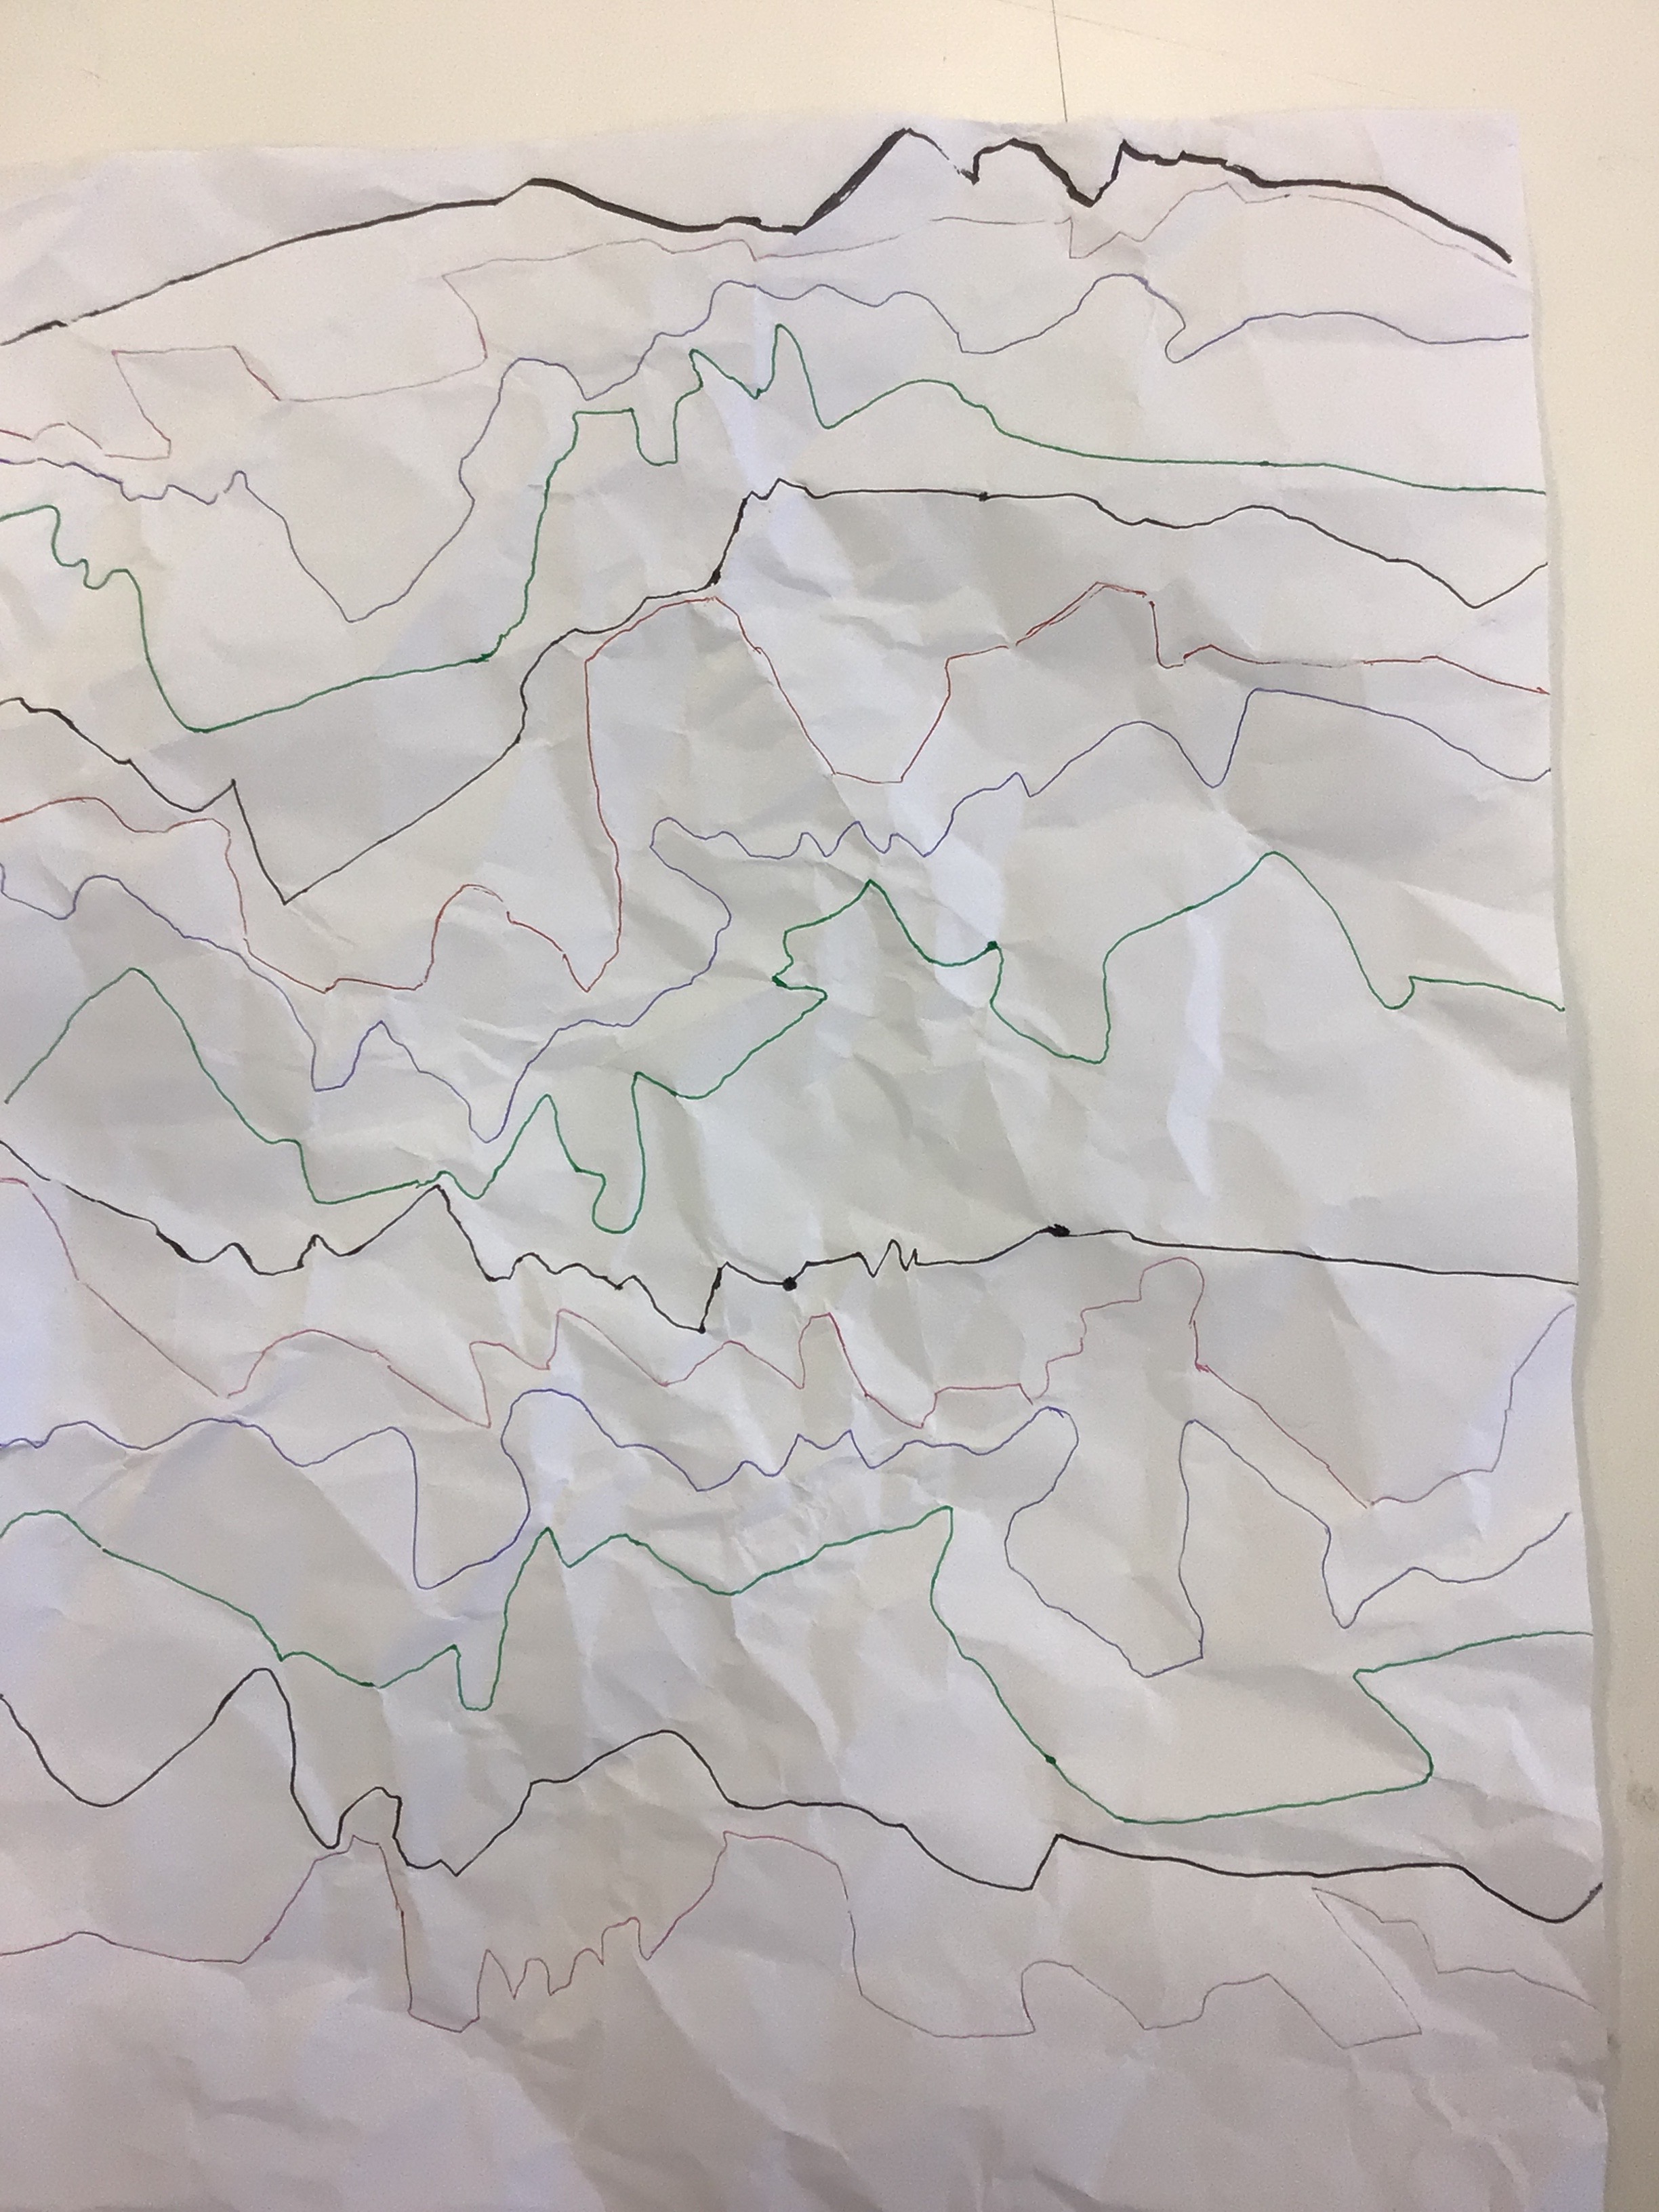
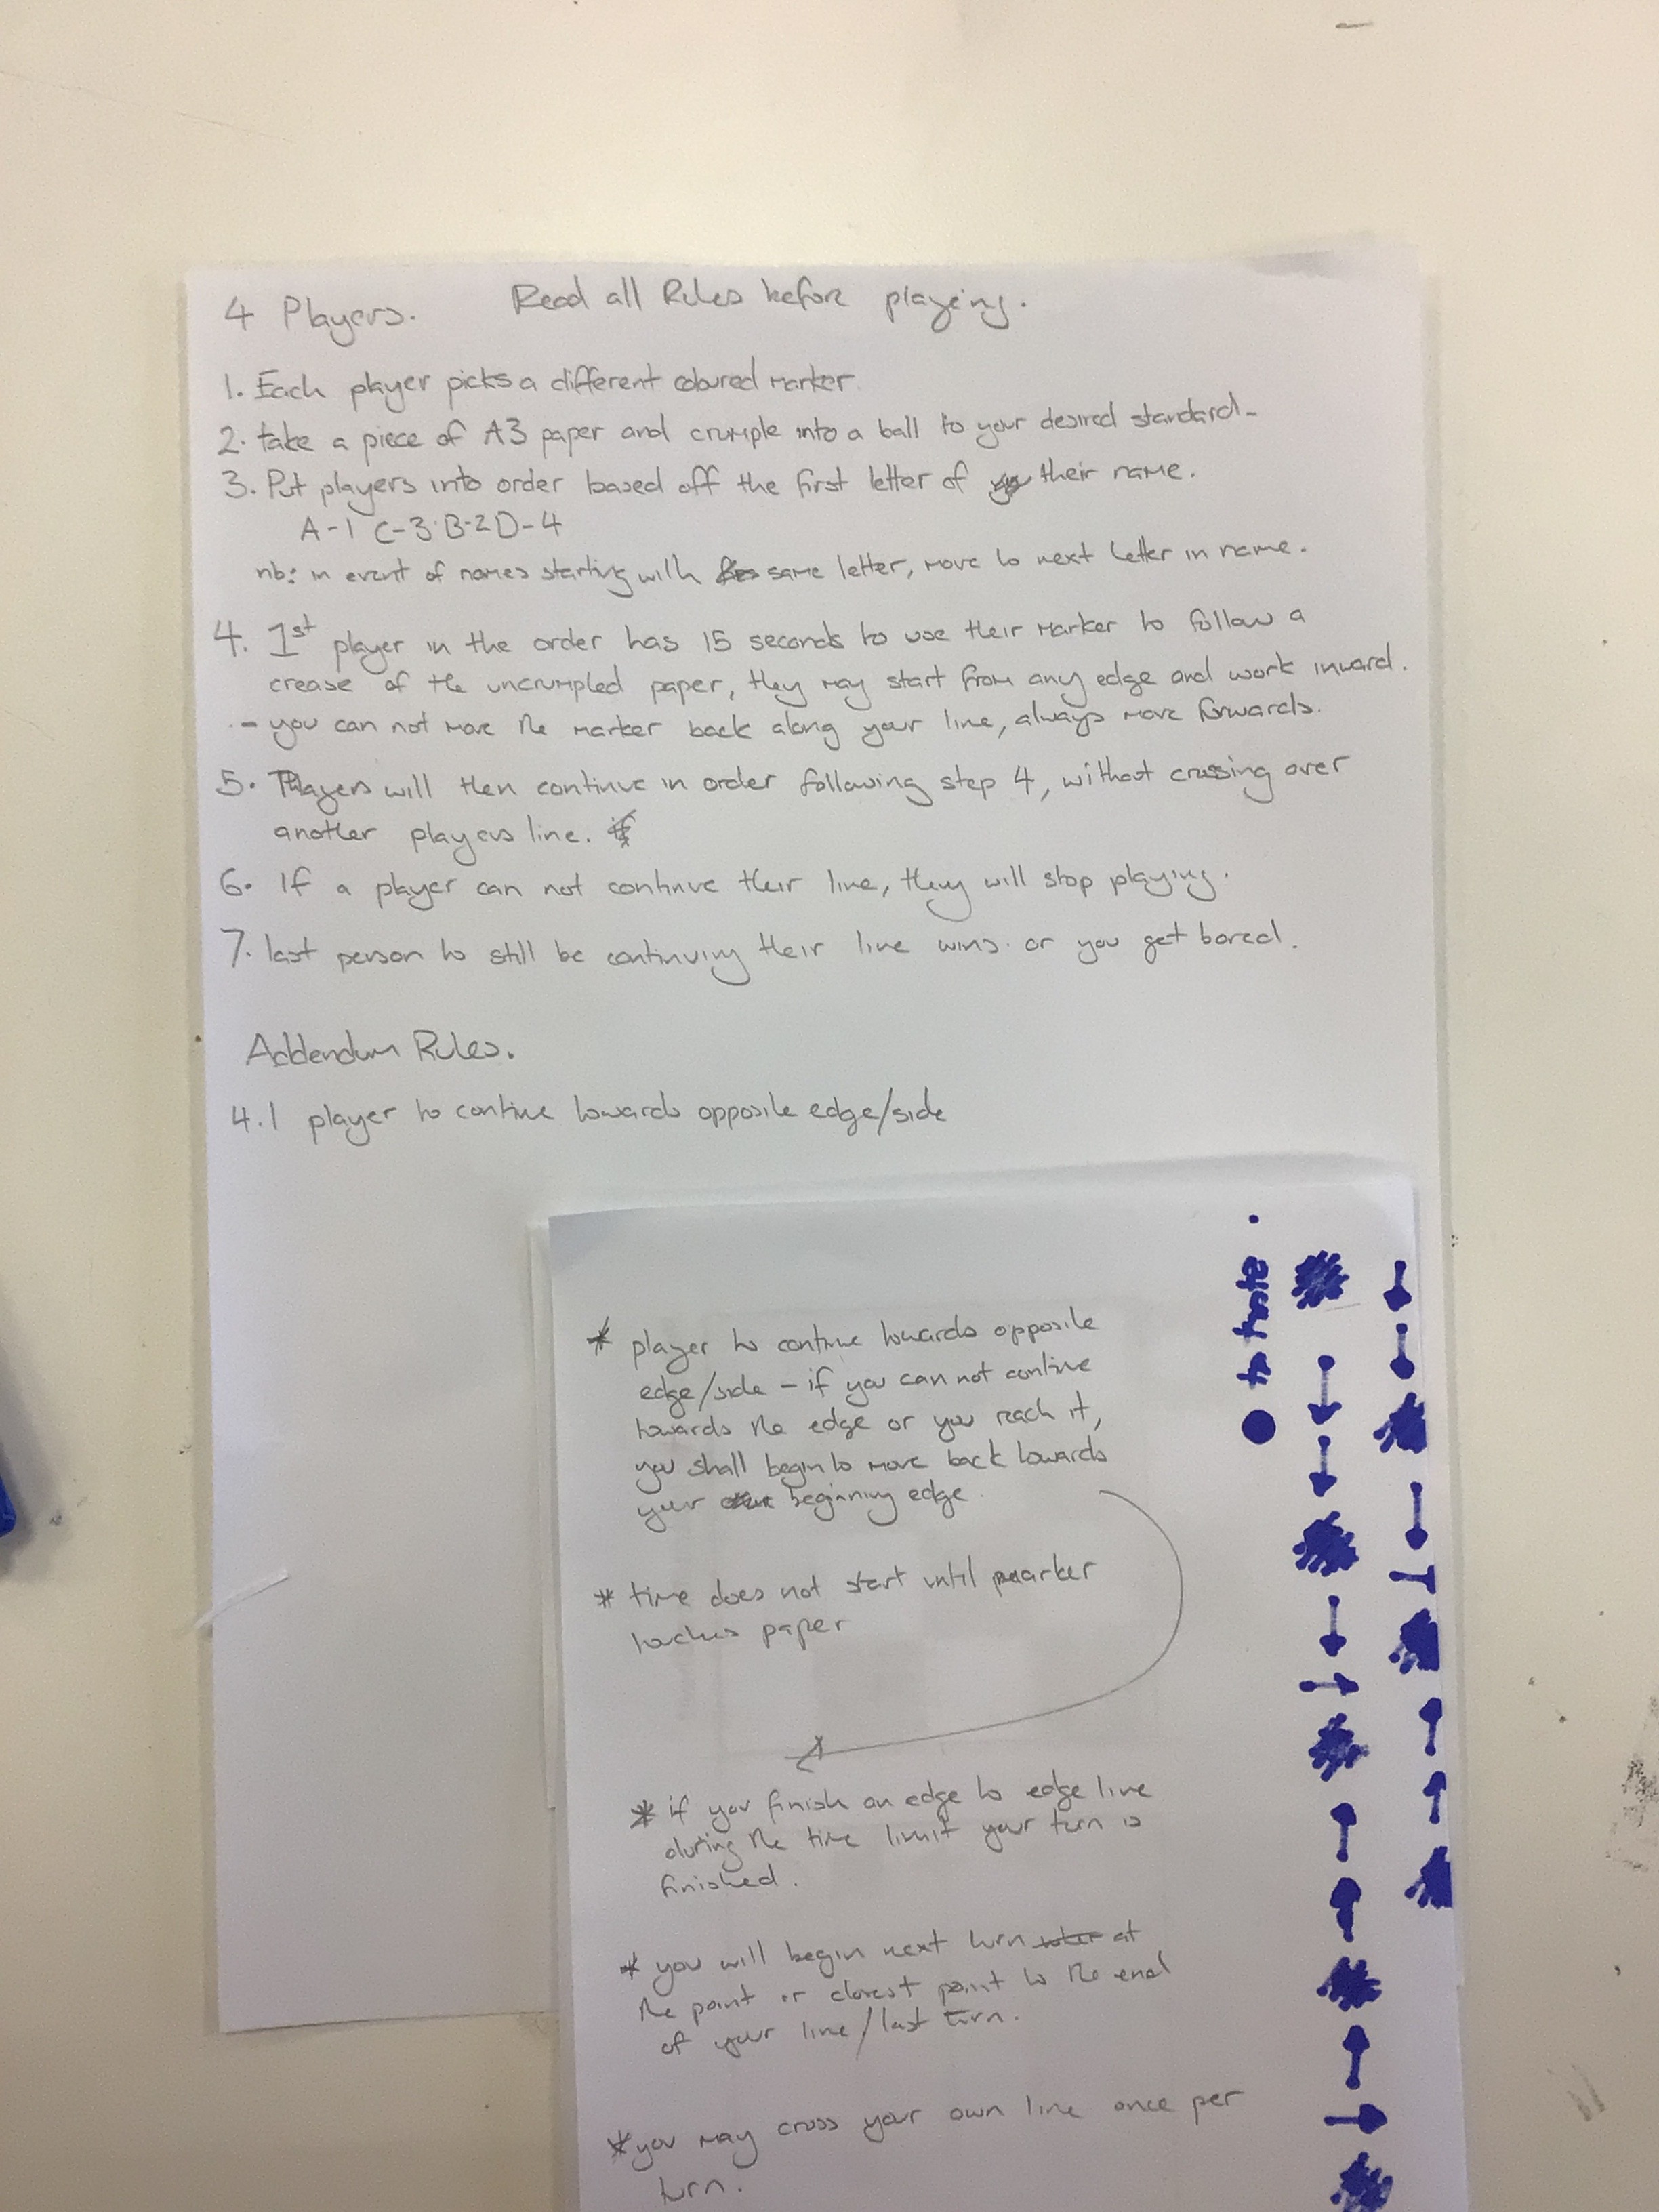
Our groups attempt of another group’s ruleset


RULESET
Pick 3 colours
Take a ruler and place it over an A4 Paper so that it crosses two edges of the paper
Using one colour draw a line onto paper following the ruler
Fill in the space between the colour and the nearest corner with that colour
Place the ruler in a new position crossing two edges, an edge can constitute a line you have created
Picking a second colour rule the line and fill in to the nearest corner
Fill in the remaining space with the third colour
Place your ruler along the edge of the paper so that it sits on top of the paper
Tear down the inside edge of the ruler
Continue this action until the whole paper is striped
Turn strips 90 degrees and repeat process until all squares
Arrange the ‘squares’ next to each other so that none of the same colour are adjacent
Once you can no longer complete this process stop.
CREATIVE CODING PRECEDENT
Simon Ingram here uses an Algorithm that responds to EEG impulses recorded by a headset to allow a machine paint lines using oil paint on a canvas. There is a specific ruleset put in place to ensure that backtracking over lines does not occur. By using different environmental cues we can see how our brain and the algorithm respond to these cues.
The interactivity of the work draws me to this piece of creative coding. It is augmenting practice in a novel way that removes our consciousness from the process, instead a ‘genuine’ (there is still aesthetic decisions made through the coding process) response to the autonomic cues from our neurochemistry.
Interactivity with the public or viewer in some way is a direction I would like to take with my own creative practice, taking the randomness or order of people and feeding it through code to create interesting aesthetic works.
Processing
Task 1 – Intro to Processing
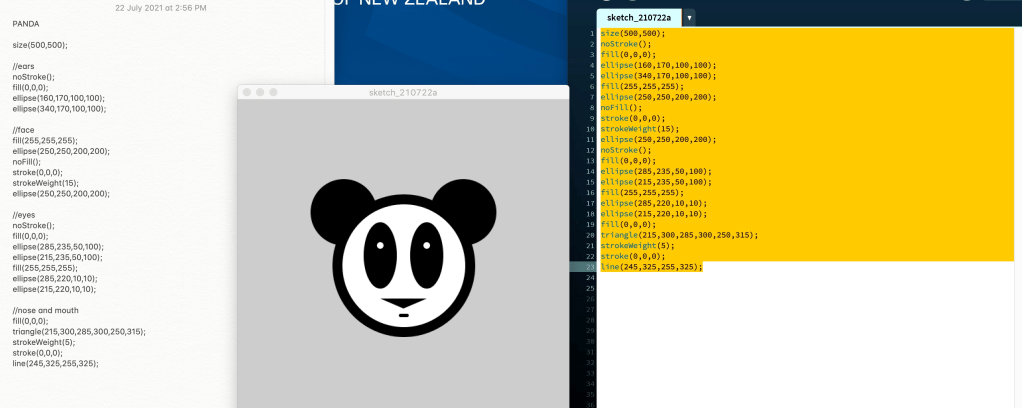
Learning to draw static shapes with coordinates in space. Found reflecting shapes such as the circles could be difficult for my brain, but I got there with some trial and error. Forgot that there is a function triangle and tried to draw three lines and fill a shape before realizing I was making a pointless headache for myself
size(500,500);
//ears
noStroke();
fill(0,0,0);
ellipse(160,170,100,100);
ellipse(340,170,100,100);
//face
fill(255,255,255);
ellipse(250,250,200,200);
noFill();
stroke(0,0,0);
strokeWeight(15);
ellipse(250,250,200,200);
//eyes
noStroke();
fill(0,0,0);
ellipse(285,235,50,100);
ellipse(215,235,50,100);
fill(255,255,255);
ellipse(285,220,10,10);
ellipse(215,220,10,10);
//nose and mouth
fill(0,0,0);
triangle(215,300,285,300,250,315);
strokeWeight(5);
stroke(0,0,0);
line(245,325,255,325);
Task 2 – Try to make my own thing?
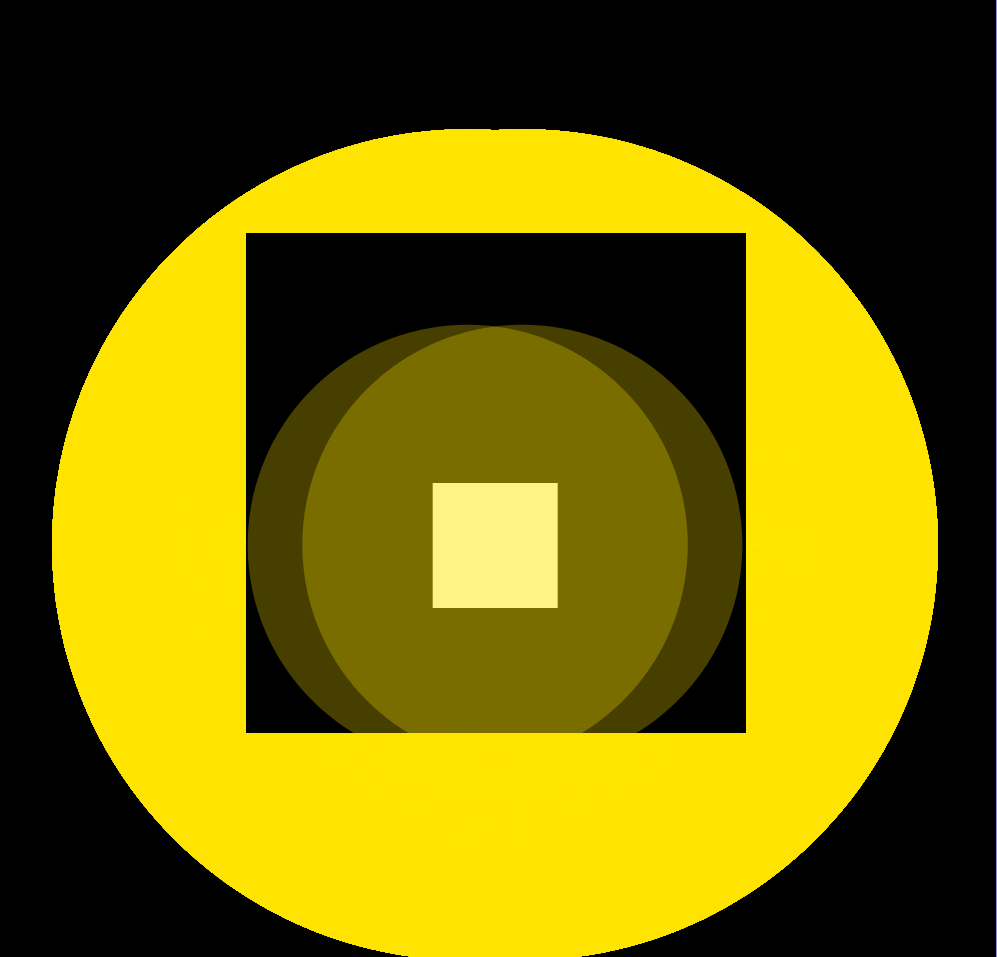
I had the idea of headlights moving towards you in a tunnel, and thought it would be fun to make the animation interactive through moving the mouse to make the ‘train’ come towards you. My other goal was to make it scalable with any size, so using the variable sizing for shapes.
After some Fanagling i managed to get the shapes drawn in the right place. Once again being the most time consuming part of the process, and tempting to use one of the drawing tools someone else created. Otherwise I get the ‘headlights to move towards and away with mouseY. Interestingly, the way i set up the code, the circles remain at their largest point when retreating creating an outline of the boxes. This could be turned into a fun Kaleidoscope effect with colour changing circles instead of them just being yellow?
size(1000,1000);
background(0);
fill(0,0,0);
}
void draw() {
noStroke();
fill(0,0,0);
rect(width/4,height/4,width/2,height/2);
fill(255,255,255);
rect(width/2.29,height/2,width/8,height/8);
fill(255,230,0,70);
ellipse(width/2.12,height/1.78,mouseY,mouseY);
ellipse(width/1.9,height/1.78,mouseY,mouseY);
fill(0);
}

void setup() {
size(1000,1000);
background(0);
fill(0,0,0);
}
void draw() {
noStroke();
//inner rectangle
fill(0,0,0);
rect(width/4,height/4,width/2,height/2);
//outer rectangle
fill(255,255,255);
rect(width/2.29,height/2,width/8,height/8);
//headlights
colorMode(HSB, mouseX, mouseY, mouseY);
fill(mouseY,mouseX,mouseY,70);
ellipse(width/2.12,height/1.78,mouseY,mouseY);
ellipse(width/1.9,height/1.78,mouseY,mouseY);
}
void setup() {
size(1000,1000);
background(0);
fill(0,0,0);
}
void draw() {
noStroke();
//circles
colorMode(HSB,mouseX,mouseY,100);
fill(100,100,340,70);
ellipse(mouseX,mouseY,mouseX,mouseY);
ellipse(mouseX/0.3,mouseY/0.3,mouseY,mouseX);
ellipse(mouseY/1.5,mouseX/0.8,mouseX,mouseY);
ellipse(mouseX/0.5,mouseY/1,mouseY,mouseX);
ellipse(mouseY/0.8,mouseX/1.5,mouseX,mouseY);
}
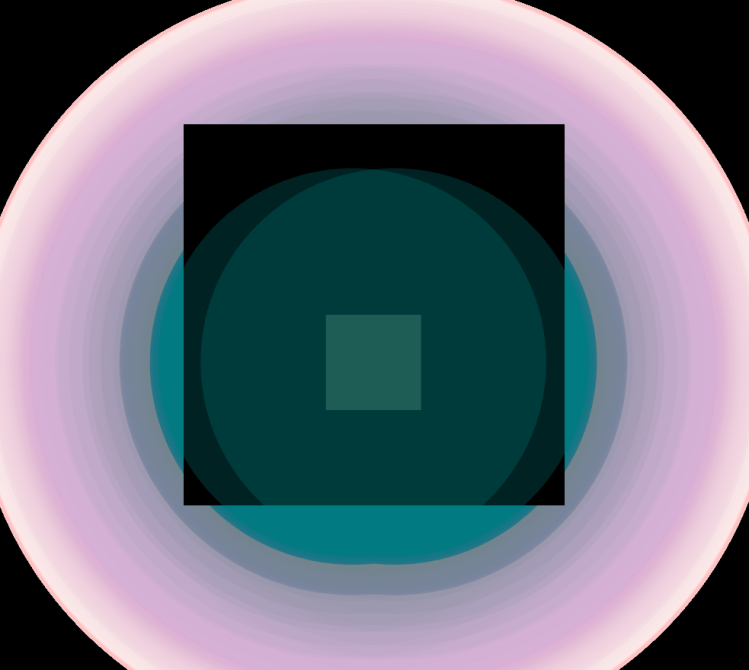
Continued with kaleidoscope effect, playing withy various values. Settled on leaving a fill with a muted tone to be less harsh on eyes. If i was to continue fully with the kaleidoscope idea i would make the shapes symmetrical and change form and orientation based on mouse movement instead of changing their position like here.
My Next Processing Adventure will be to play with random generation to place the shapes in space, and create a whack a mole style thing.
Other Ideas include using audio input to manipulate a line with spring like properties. Once audio input stops it will spring back to its original position. As a way of starting to being in more physical elements to the experience.
CODING PRECEDENT
In search of more kaleidoscopic material I came across this work by Owed. Playing with the idea of ‘digital collage’ Using an API through Flikr, the sketch takes multiple images and then distorts them through multiple trigonometry filters that can be controlled by mouse movement to create these trip/dreamlike landscapes. It is another example of human modification and interaction of a piece
It is also interesting bringing in more elements of the digital space into work, rather than working in a bubble or closed system. Reaching out and using the mass of data available to create and generate imagery is a tantalising prospect. It reminds me of more complex algorithmic work like deep mind by google.
Three.js
http://threejsplaygnd.brangerbriz.net/s/?id=8841
Interesting to note the variables which allow this
add changing the mesh to alternate the hue to make nice mosaics
http://threejsplaygnd.brangerbriz.net/s/?id=8870
this is my remix of code from the sketch ‘roll like a star’ by Julie
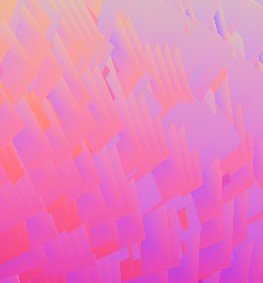
My aspiration for work with threejs playground is to create shaders that play more with the lights in the environment . The idea is working with a ‘simple’ rotating diamond shape to understand this
I really like the universality of threejs, can be seen on any device through a browser. Increasing the reach and accessibility of art/material is an important concept to me.
https://www.wired.com/2005/12/graffiti/
Looks at street art styles using code to augment how they are applied
An idea that once again looks to add a physical element into the creation of work. Create terrain using a visualiser like element with audio. This can then be pieced together to create digital world’s made by certain music. Would be interesting to see if the world corresponds to the feeling created by the music.
FINALS

size(1000,1000);
background(184,253,255);
}
void draw() {
noStroke();
//headlights
colorMode(HSB, mouseX, mouseY, mouseY);
fill(mouseY/2,mouseX/2,mouseY,70);
ellipse(width/2.1,height/2,,mouseY,mouseY)
ellipse(width/1.9,height/2,mouseX,mouseX);
}
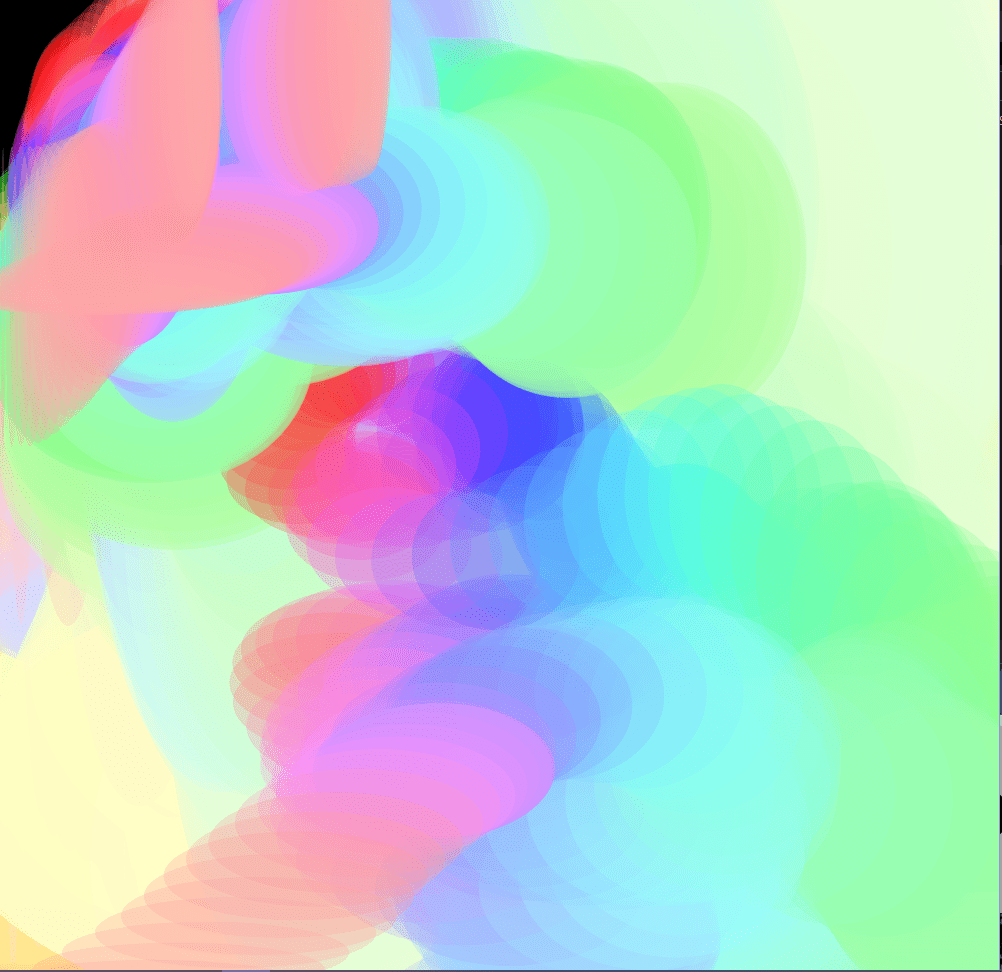
this was a modification of my previous works in playing with the idea of headlights through a tunnel. I enjoyed the effect so much that I forgoed the tunnel idea to focus purely on the colour generation of the two ellipses. I changed the background colour to fit the pastel aesthetic of the generation. I also reduced the mouse variables size in the fill – which reduced the intensity of the reds in the generation that I found harsh on the eyes. Finally I switched one ellipse to have its size impacted by mouseX instead of Y. This creates a flip flopping between the tw0 ellipses as you move the mouse around (which probably isn’t very well shown by the screenshot.). I find the motion of moving the mouse up and down creates a very pleasing effect, that has its merit in it’s simplicity.
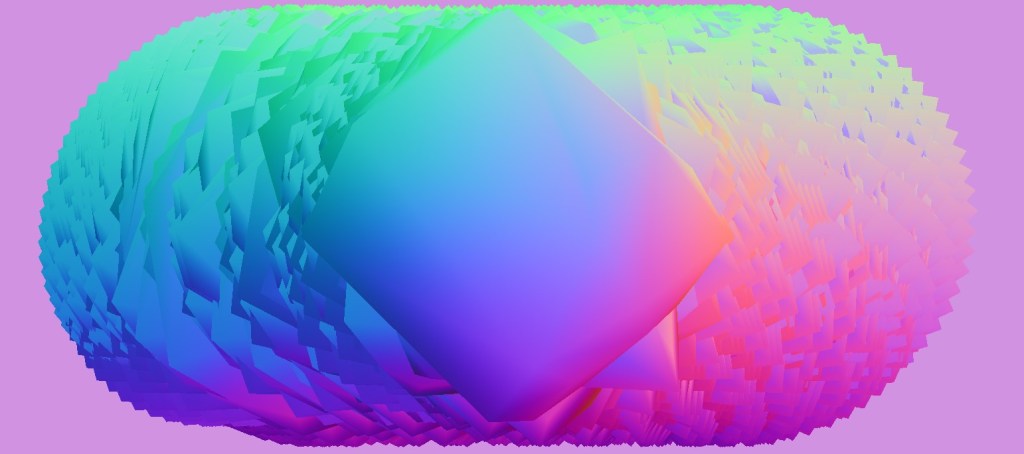
This was the first work in three.js and it has turned out to be my favourite. Once again I enjoy the simplicity of the movement, though what is interesting compared to my processing final is the amount of code generation going into creating the visual. this is a 3D object that look’s like it is only operating on a 2D plane, made up of around 22 vectors pushing and pulling in many different ways at any one second. This was achieved by applying stretching snippets that creates variables for movement of the individual vertices. I also applied a trailing and hue effect to the object so that the patterns would emerge behind the movement. Finally to contrast with the high speed of rotation i gave the object, i made the horizontal movement slow as to see and appreciate the movement that goes into creating the pattern and eventually the overall pill like shape. The colour and feel of the object was influenced by shaders applied that caused the shape to interact with the lighting placed in the scene. While I had limited success working in the 3d environment, I am happy I at least was able to create something I was proud of with this workflow.
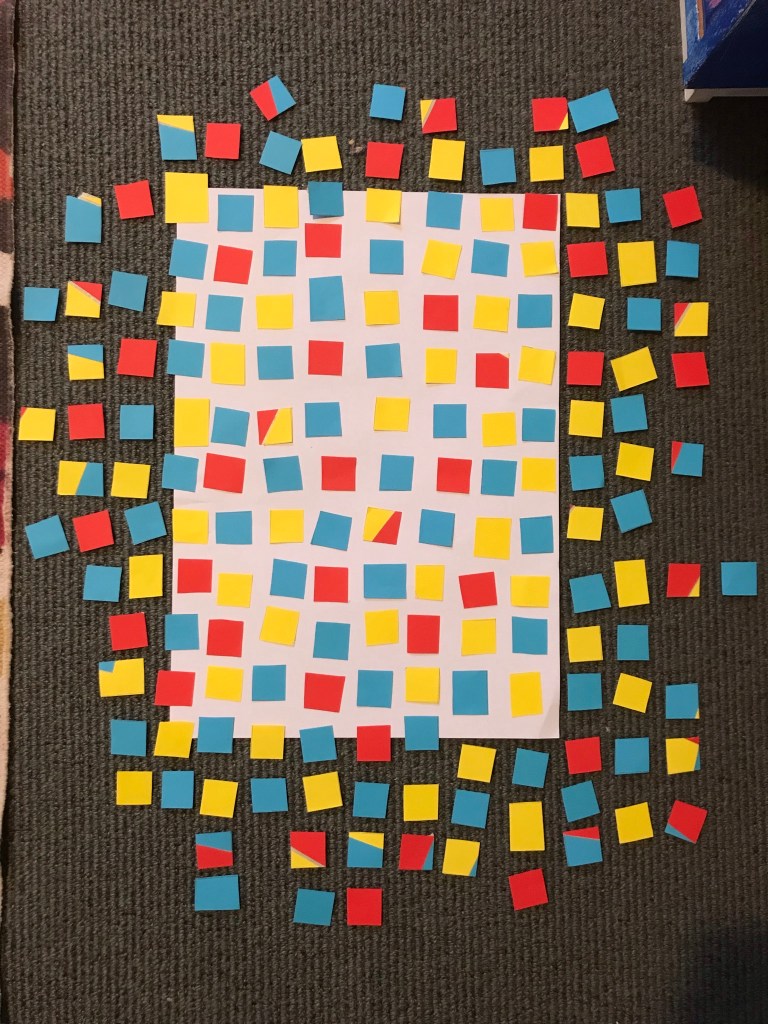
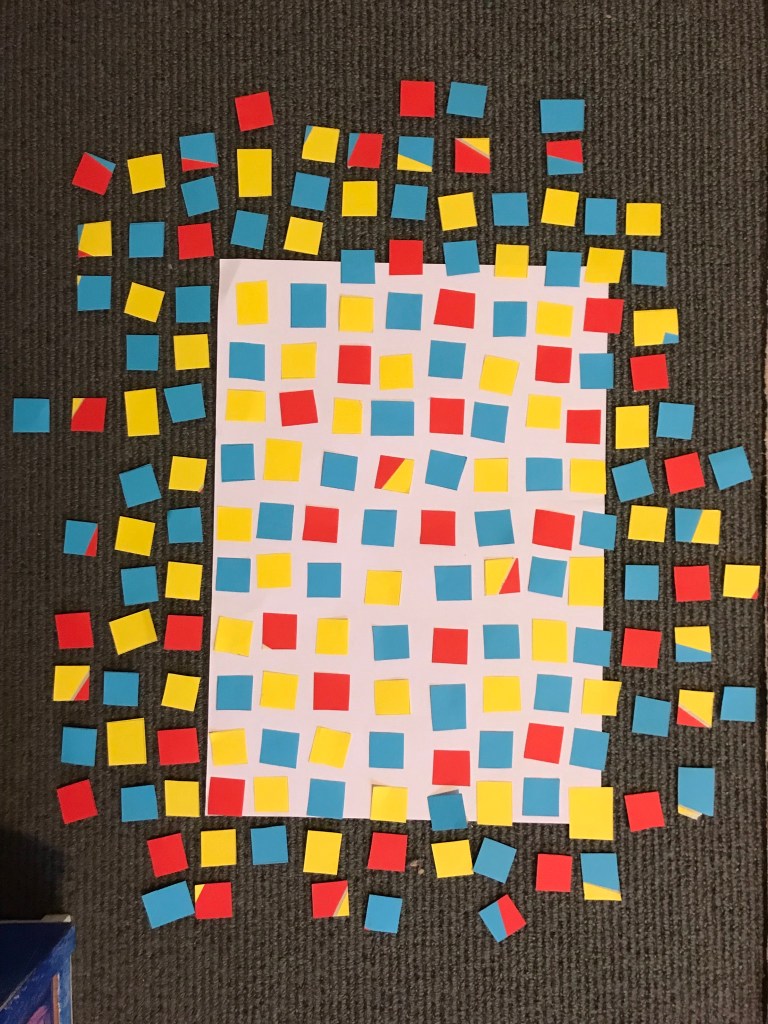
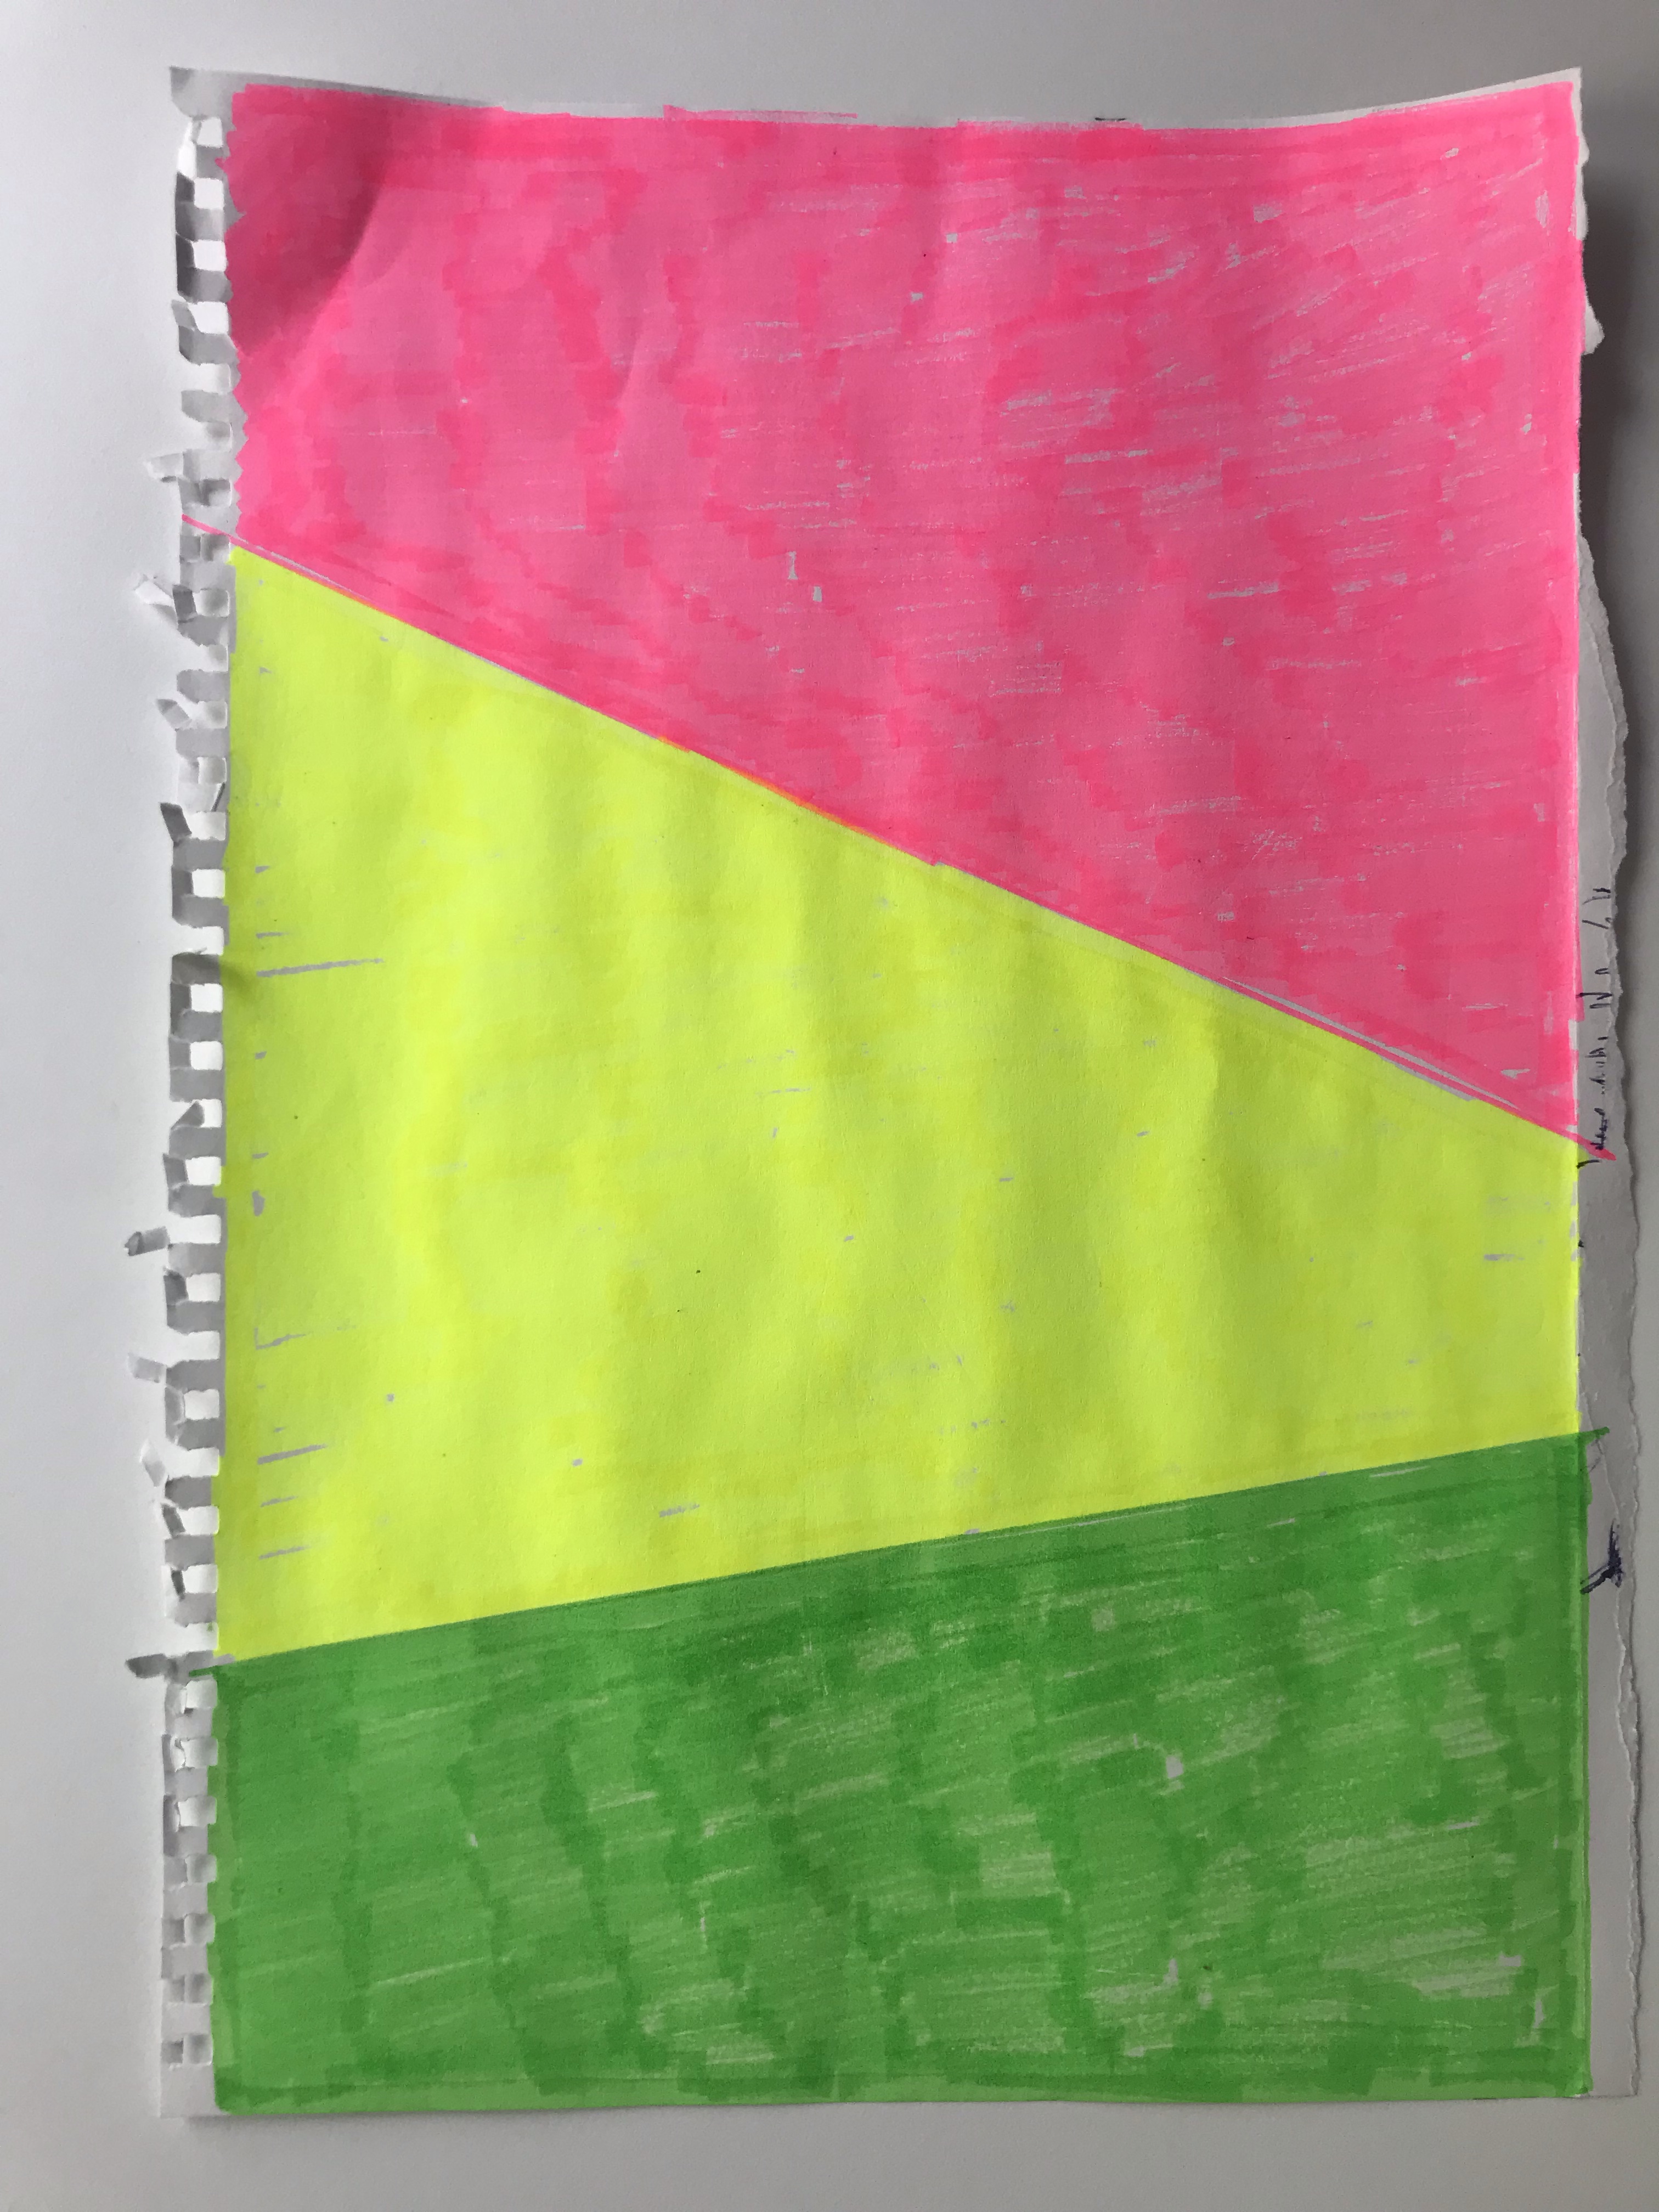
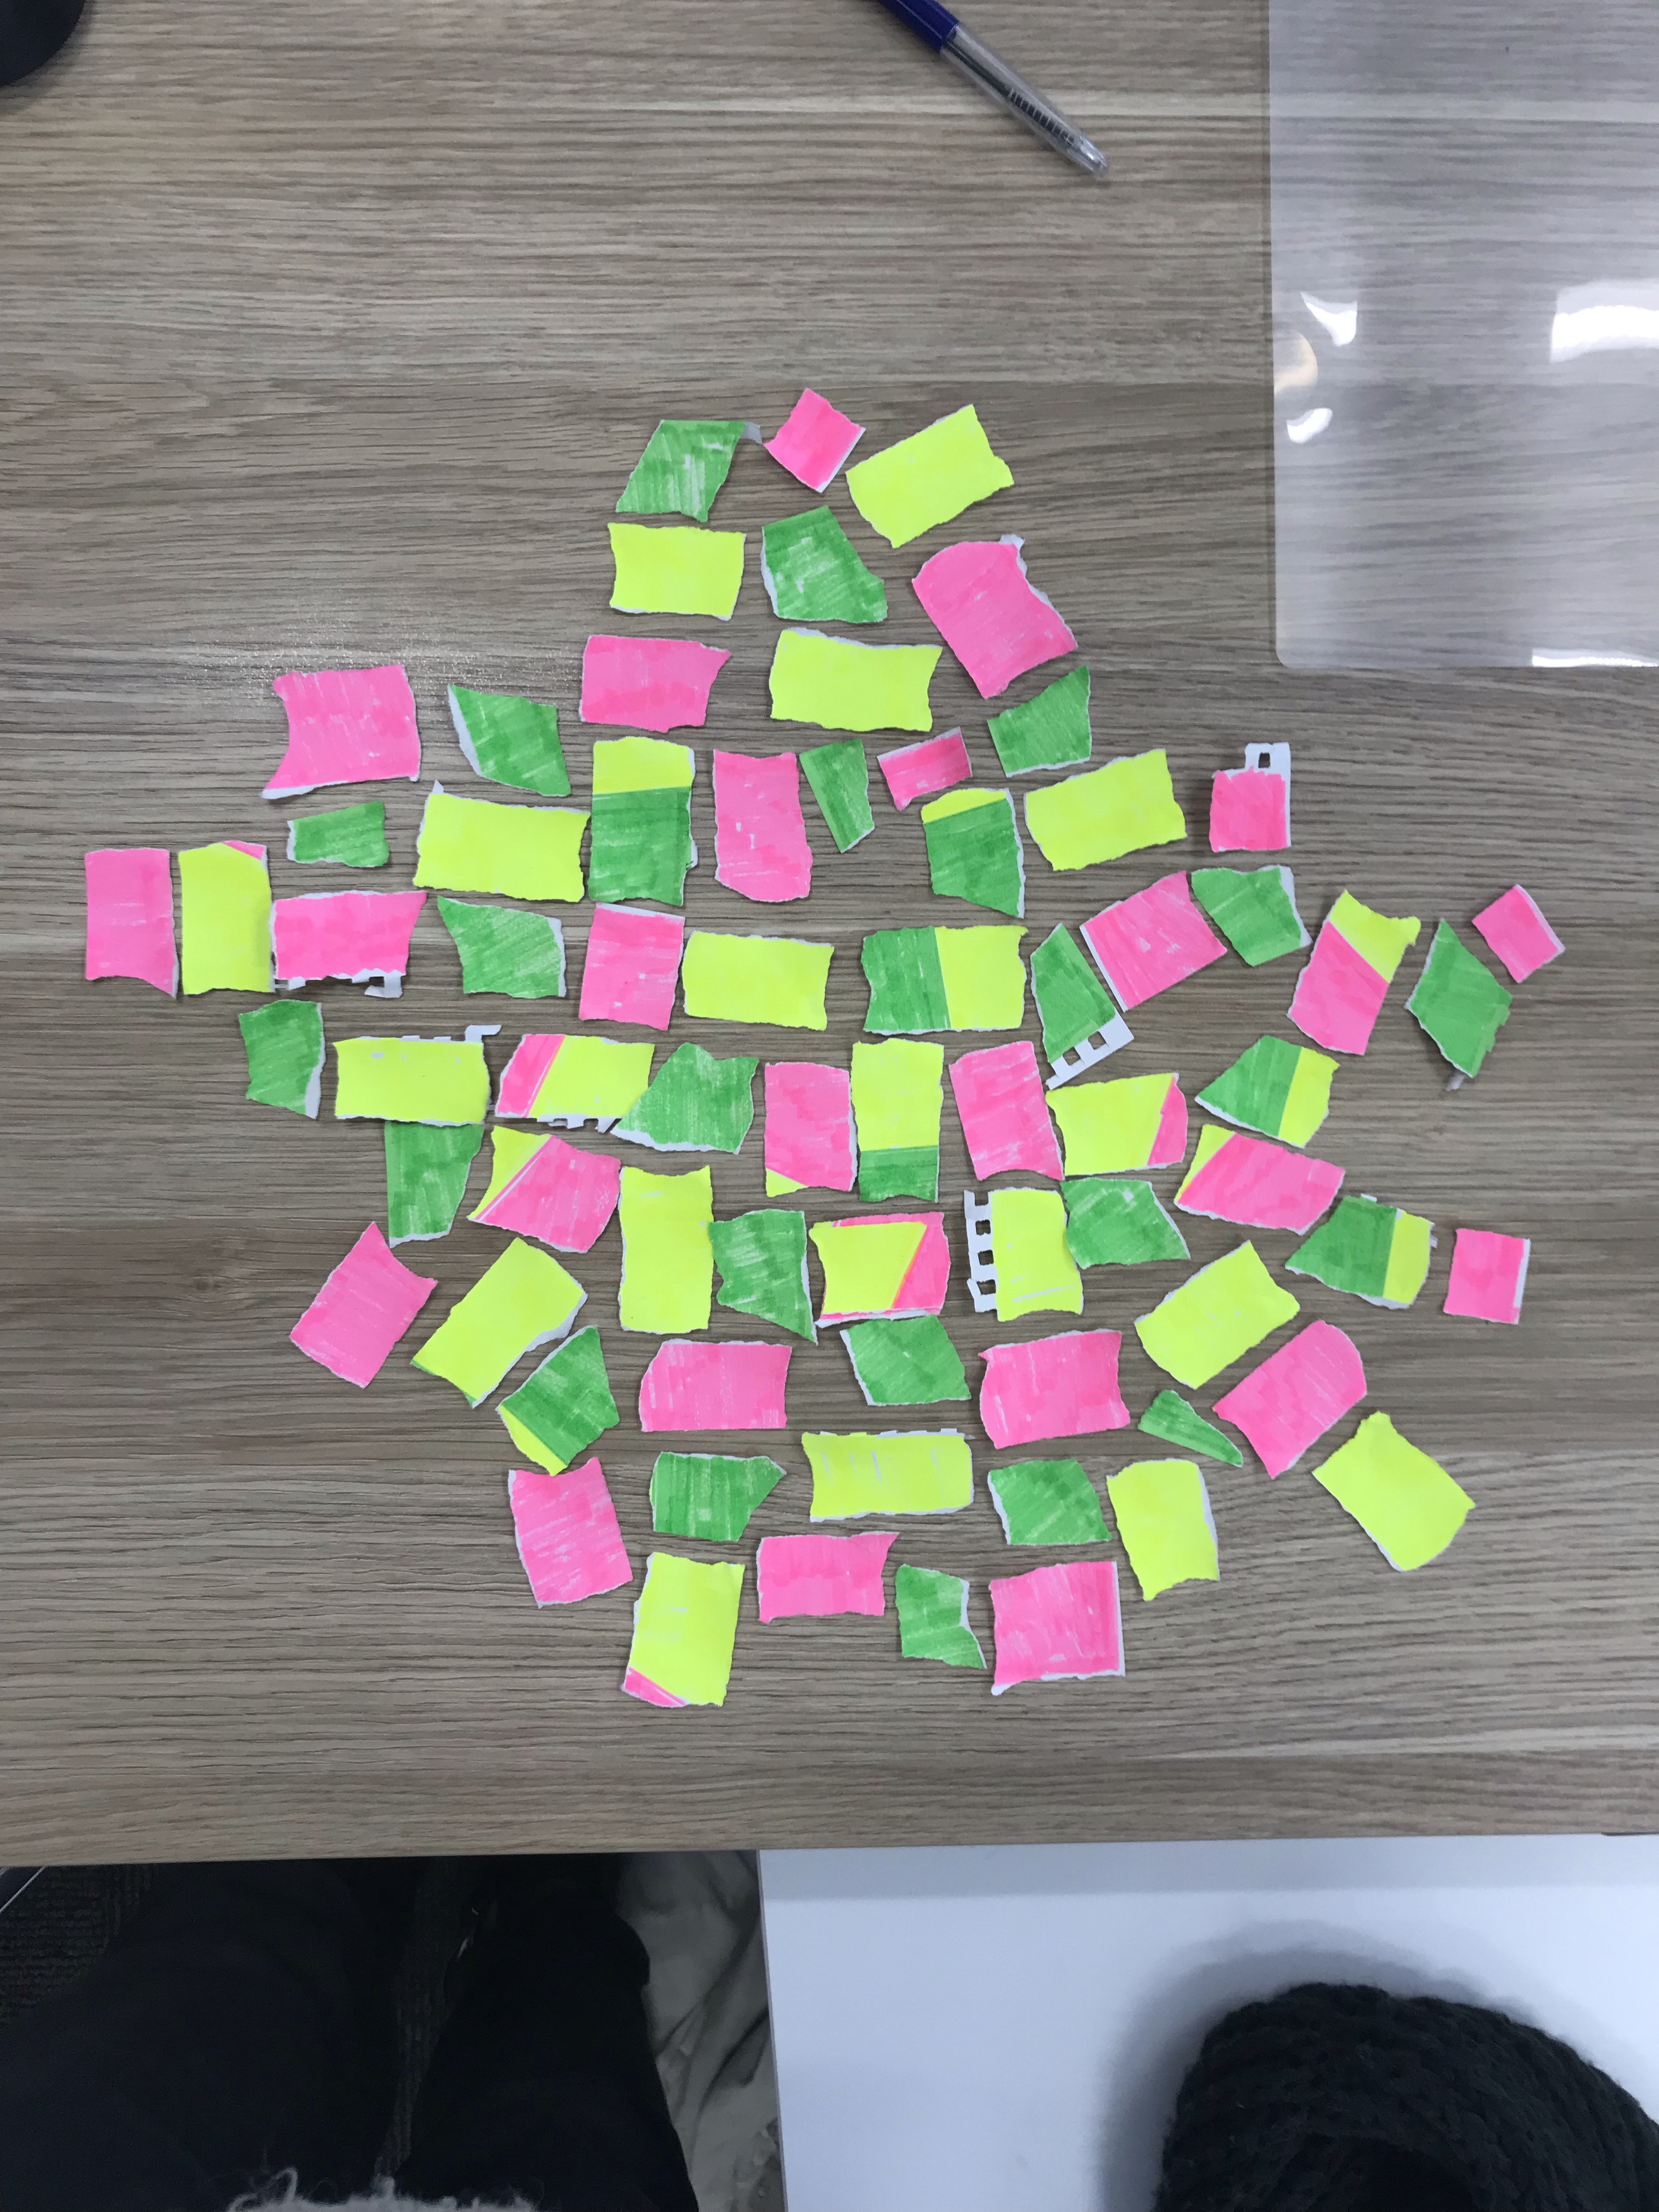
I decided to finish off by returning to the ruleset I created for conditional coding. By approaching the task with intention of following the tearing process more closely as said I was able to create a pixelization of an image. I like the idea of putting a material or object through two or three steps of modification, removing it from its original context until it comes back around to its intended form. In this case paper that we usually draw upon to create the image, becomes image itself through this process.
The ruleset provides an amount of leeway for human variation in the design of the final image, through colour and amount of colour. I am reminded of solitaire when making an image using the ruleset, will I be able to use every piece of paper?
